Transform Your Home into a Cozy Oasis with DIY Candle Making: Simple Steps and Tips for Beginners
by Stefanie Michaels
When I’m on the road, I always seek out special items from local places to bring back home. Everywhere one goes, there’s candles, right?
Cities all over the world have facilities to create them. Grasse in France is considered the “perfume capital of the world,”—also known for its production using high-quality waxes for their products. There is a USA producer of Kringle Candle in Massachusetts, also known for its hand-poured, highly scented candles.
This got me thinking about making these at home. How fun it would be to take the candles I see from my travels and turn it into a fun activity at my house for family and friends to participate in!
Here’s what I learned and the basic steps to make candles at home:
- Gather materials: You’ll need candle wax, wicks, a double boiler or a heat-safe container for melting the wax, a thermometer, and fragrance or essential oils you want your candle to smell like.
- Prepare the wicks: Cut the wicks to the desired length of your candle and tie one end of the wick to something like a chopstick. This will help keep the wick in the center while the wax sets.
- Melt the wax: *You’ll need a double boiler to melt the wax or you can create a homemade one by putting a heat-safe container into a pot of simmering water. Stir the wax occasionally.
- Make sure to use a thermometer to ensure the temperature does not exceed 185°
- Add fragrance or essential oils: Once the wax is melted, add fragrance or essential oils to the wax—ratio is 1 ounce of fragrance per pound of wax. You can also skip this step and leave the smell natural.
- Pour the wax into the container: Carefully pour the melted wax into the container or your choice. Make sure to keep the wick in the center as you pour.
- Allow the candle to cool and set: The wax needs to cool. Let it set for at least 2-3 hours, or until the it has hardened.
- Once the wax sets, trim the wick to about 1/4 inch above the wax. Leaving it too long will make the candle smoke as the wick burns.
Items you can add to customize a candle:
- Herbs and flowers: Add dried herbs and flowers such as lavender, rose petals, or chamomile to the wax before pouring it into the container.
- Glitter: Put in a small amount of glitter to the melted wax. It will add a sparkly-ness. For the holidays, it will lend to a festive touch.
- Small objects: Add in small objects such as tiny shells, stones, or even small toys. Makes for a unique customization.
- Essential oils: Essential oils such as lavender, vanilla, or peppermint can be added to the wax for a more aromatic candle.
- Food items: Small food items such as coffee beans or cocoa nibs can be added to the wax. As the wax warms, warm and homey smells will emit.
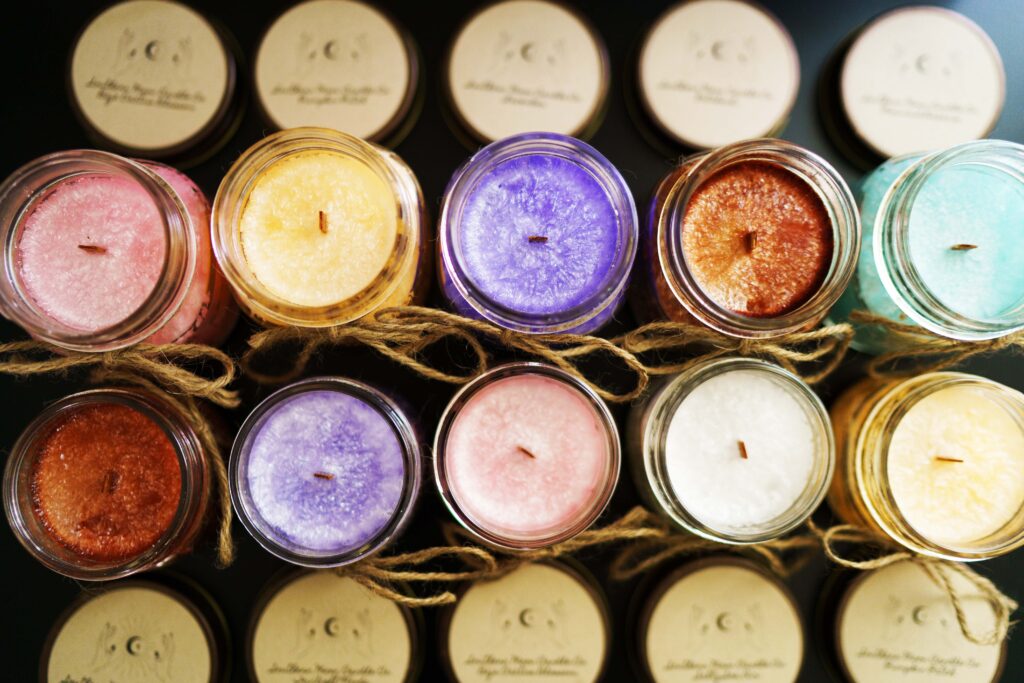
- Color dye: Dyes can be added to the wax to create candles in different colors. Add in drops, lightly stirring to create a tie-dye look.
- Personalized label: A personalized label with the recipient’s name or a special message inside makes for a special gift.
Did you know?
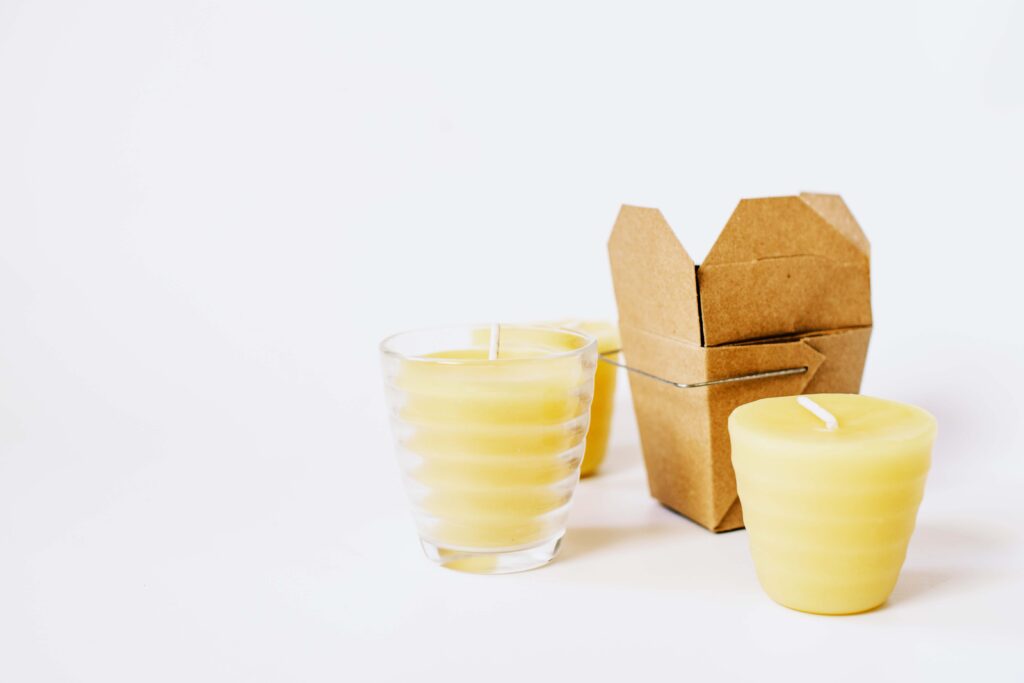
Soy wax is a popular alternative to paraffin wax, as it is a renewable resource that burns cleaner and slower than paraffin. Beeswax, on the other hand, is a natural wax that has a distinctive, honey-like scent and produces a warm, golden glow when burned.
Candle making is an ancient art that dates back thousands of years. The earliest ones were made from natural materials such as beeswax and tallow, which were readily available and easy to work with.
The Egyptians are believed to have been the first to develop wickes, while the Romans are credited with creating the first true dipped candles. Throughout history, they have been used for both practical purposes, such as providing light and heat, as well as for religious and ceremonial purposes.
With the advent of electricity, candles lost their practical importance but remain a popular decorative item and a source of relaxation and ambiance. Today, candle making is a popular hobby and business, with a wide range of materials, fragrances, and styles available to choose from.
TIPs:It’s not recommended to add metal charms— they can get very hot when exposed to the flame and may cause a fire hazard. Additionally, metal may not melt or burn properly, and may release potentially harmful fumes.
*Always use caution when working with heat and melted wax, and never leave one that is burning unattended. Make sure to research if the item you want to add into the wax is safe to burn and how much of it you should add.
